Tentacle Sync Studio feature request – Trim clips option
Hi, I just tested Tentacle Sync Studio in demo mode and I was amazed by its FCPX integration. Having FCPXML support in the app is super useful!
– First of all, I was really happy to see that you guys translate the iXML metadata from a BWF into Roles.
– Also, I love how you handle multicam clips:
· Using the “Sync Group” information in Sync Studio to create the necessary angles in FCPX’s multicam clips is very clever!
· The default audio configuration works perfect in most cases: leaving all the components from the video angles turned off while keeping the components from the audio angle turned on. Very nice!
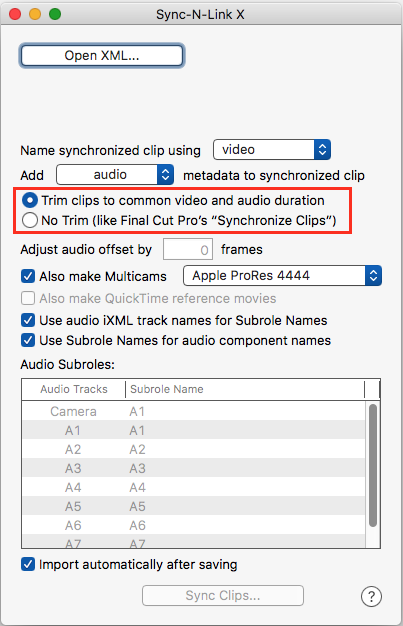
So far the only thing I would love to see coming to Tentacle Sync Studio is an option to trim Merged clips (what FCPX calls Synchronised clips) so that we don’t get black at the beginning or end of the take when the audio clip is longer than the video clip. This is not how FCPX works by default but it is a very useful feature that for example Sync-N-Link X offers.

Perhaps you could add a “Trim clips” option to the Settings window? I believe this could be a workflow improvement for FCPX and Premiere Pro.
Anyway, congratulations on all your accomplishments. I hope you keep up the good work!
Jesús
Hi Jesús,
thanks for your nice feedback!
Regarding the “Trim clips”, did you checked the clips marked with the “synced” keyword?
Those are trimmed to the video only. This has the advantage that you can rollout the audio tracks later in the timeline when needed. Could that be a solution for you? I am really interested in your feedback, because I am also not 100% sure if this is the right decision. Maybe it would be a good thing to state a handle length on export?
Best,
Ulrich
Hi Ulrich,
Thanks for your quick reply.
Besides doing some quick testing, I haven’t used Tentacle Sync Studio much so I didn’t noticed that it creates keyword ranges.
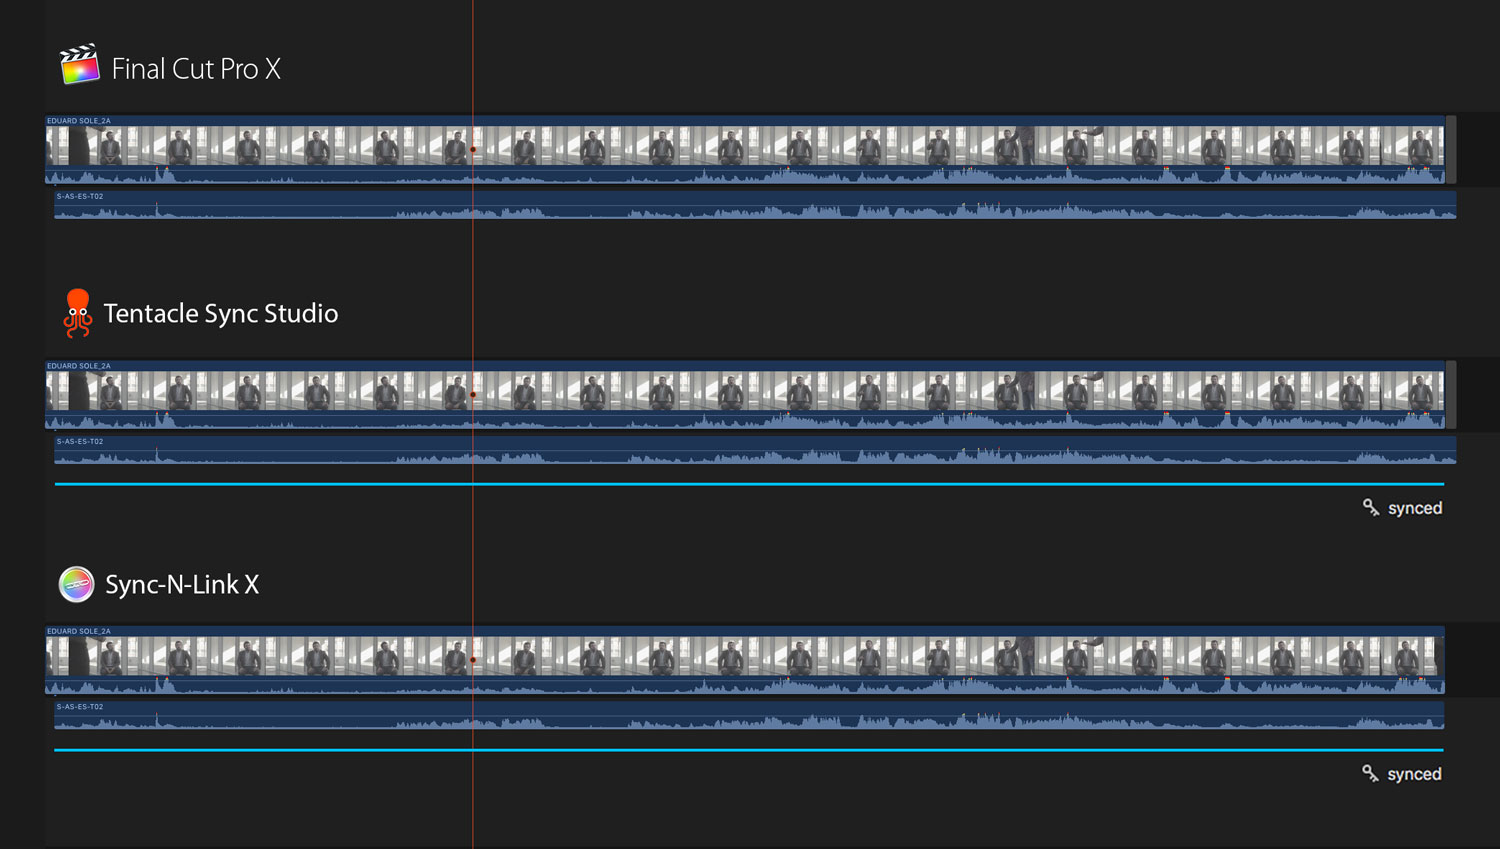
Now I understand how it works and here is how it compares to FCP X built-in synchronisation and Sync-N-Link X:

Basically, the “Synced” keyword ranges that Tentacle Sync Studio and Sync-N-Link X create are identical: they are applied just to the portion of the clip where video and audio coincide.
The problem of working with the “Synced” keyword ranges is that sometimes the audio might start recording after the picture… or maybe the audio recording stops in the middle of a take… That’s why I wouldn’t rely on the “Synced” keyword for organisation and I’d rather use the whole Synchronised clips. With S-n-L, that’s not a problem, because you have an option to trim the audio clips to match the video so that there is no black.
From an editor perspective, I think picture is always “king”. This is how I would translate this principle:
TAKE START:
– If audio starts recording after the camera, I’d still would like to see the muted portion of the picture at the beginning of the take.
– If audio starts recording before the camera, I wouldn’t want to see black at the beginning of the take. I’d rather cut the audio so that it matches the picture.
TAKE END:
– If audio ends the recording before the camera, I’d still would like to see the muted portion of the picture at the end of the take.
– If audio ends the recording after the camera, I wouldn’t want to see black at the end of the take. I’d rather cut the audio so that it matches the picture.
The problem with trimming synchronised clips in FCP X, as you mentioned, is that once the synced clip is edited into the timeline, you won’t be able to extend the audio beyond the synced clips limits. I honestly think that’s not a big issue, considering that the audio at the end of a take (after the “cut”) is normally useless. If for some reason I need that audio, I can always open the Synced clip in the timeline and match back to the audio take to access the audio handles…
Even if the “Synced” keyword ranges represented the video portion (with or without audio), as I think it would be more useful for editors, the problem of working with keywords is that, once the “Synced” portion of a clip is edited into the timeline, FCPX will always match frame to the entire clip at the event level. So if the editor doesn’t want to see the black portions at the beginning and/or end of the synced clip, he will be forced to click on a particular keyword, which is not so ideal. Specially because most of the time, you need to use the search functions at the event or library level.
So there is not an ideal solution, and it’s probably a matter of personal preference. That’s why I think it would be great to have more options in the Preferences of Tentacle Sync Studio, so that editors and assistant editors have the flexibility of choosing which way to go.
I hope that helps. Best,
Jesús
Jesus, have you been able to get more than one multicam clip into FCP X from a single Tentacle Sync Studio XML export? I am just using the software and it seems it cannot do that; something we really need since we shoot narrative content. I don’t think it’s supposed to be able to do that so I ‘ve been told by a representative.
That’s the killer feature I need and have to get this footage to Sync-N-Link to do that. So now I think I’ll have to get VideoToolShed LTC Converter to prep the tentacled video content for Sync-N-link.
Though if you’ve found a workaround to do what I am trying to do, I’d love to hear it. I think it’s great the tentacle app can generate multiple synced clips, but we need multiple multicam clips, not just one multicam clip of all of the synced footage.
Jesus,
not sure it would help and it’s really your problem when match frame… but with the numerous sync we had to do for a documentary series (about 450 !) we had a similar problem. So i wrote a small app (SIXFEETUNDER) to tag the video part of our multicam with a “SUBCLIP” keyword. So after we reimport the new xml, we used a smart collection that show what in the multicam clip WASN’T tag by this keyword and after that we rejected all that. And match frame was no more a problem if we keep filtering by “hide rejected”. Her is a “small” tutorial ( only one clip in this example but it works for any selection…) :https://vimeo.com/222645103
Martin